How to Glue Handles etc to the BoogieUpdated 7 months ago
The Boogie is made from high-quality PVC fabric. To bond PVC materials effectively, two main types of adhesive are commonly used:
1. Single-Part PVC Repair Glue
This is the basic adhesive included in most repair kits or found at boating and camping stores. It provides a reasonable bond, though it requires a longer curing time and is best suited for minor, non-load-bearing repairs.
Note: PVC pipe glue (used for plumbing) is not suitable for PVC fabric.
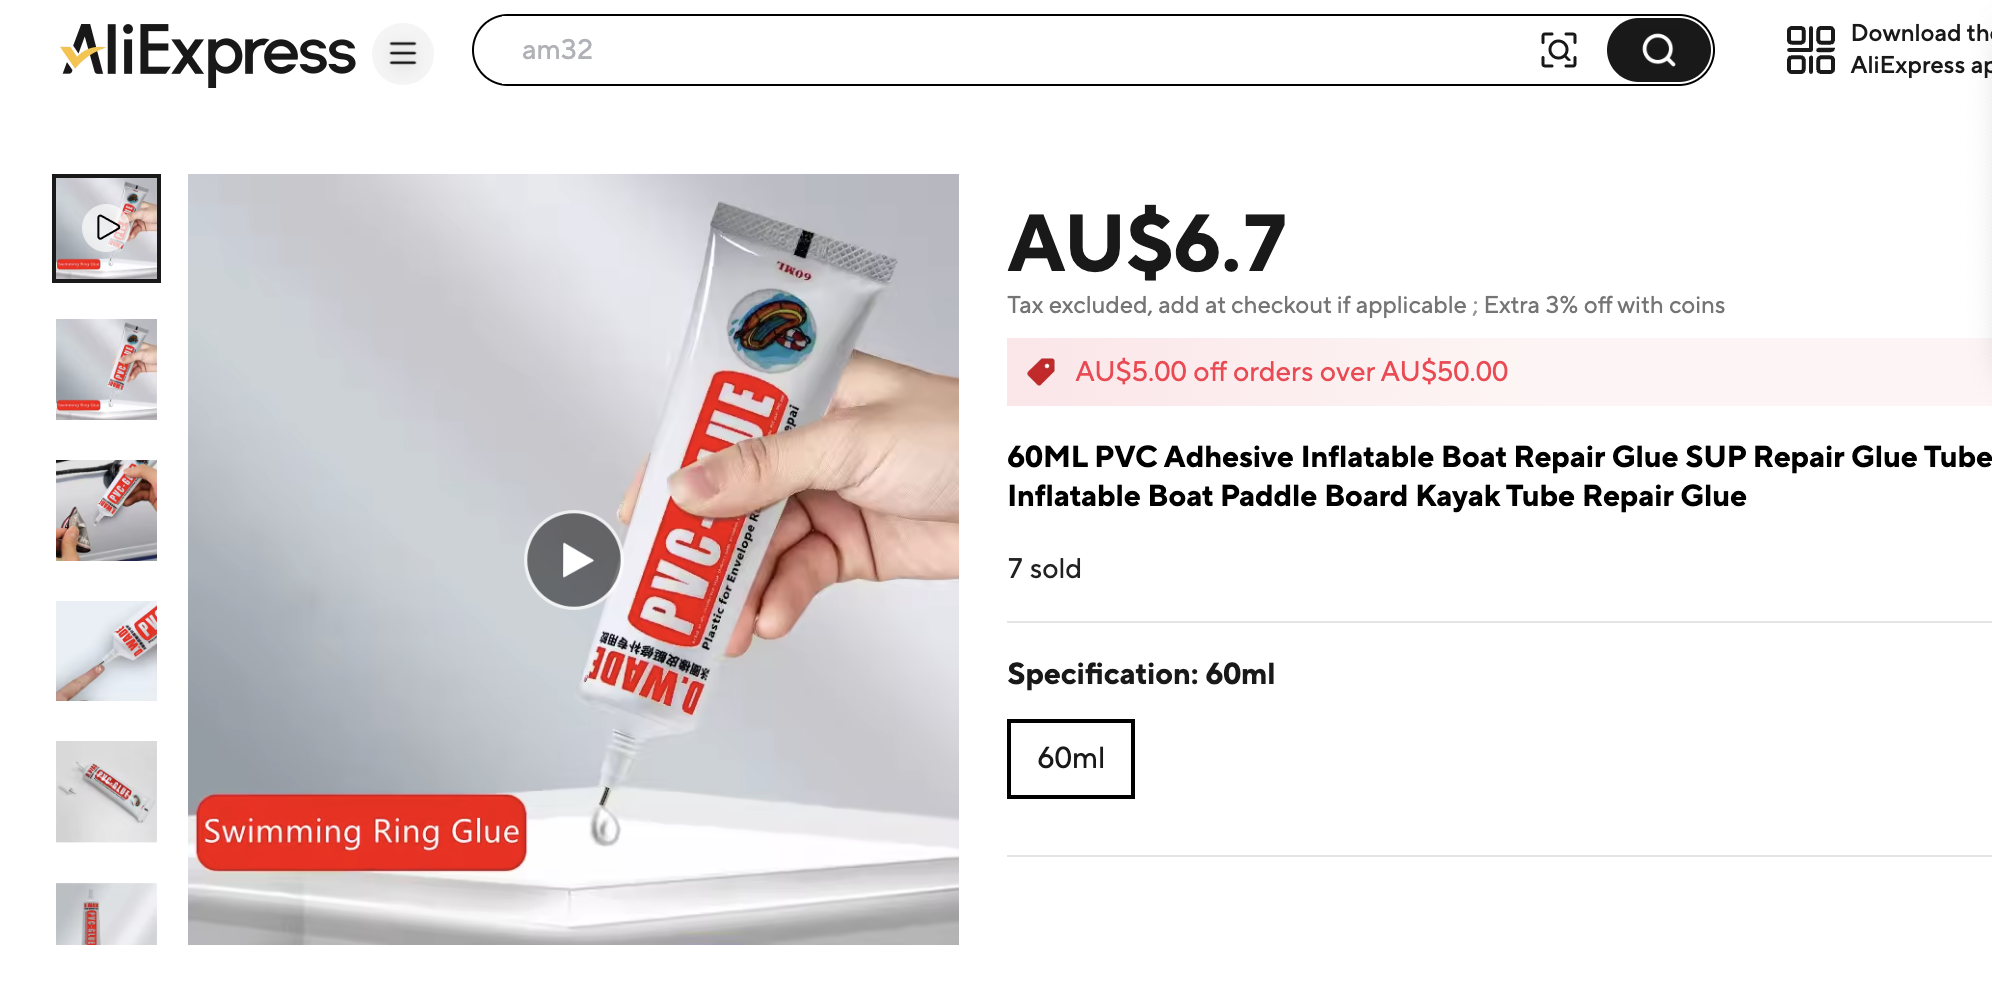
2. Two-Part PVC Glue (Recommended)
This is the adhesive used during manufacturing of the Boogie. It consists of a base adhesive and a hardener. When mixed, it creates a strong, fast-setting bond. Though slightly more expensive, it’s much easier to work with for patches or fittings because you don’t need to hold the pieces in place while the glue cures.
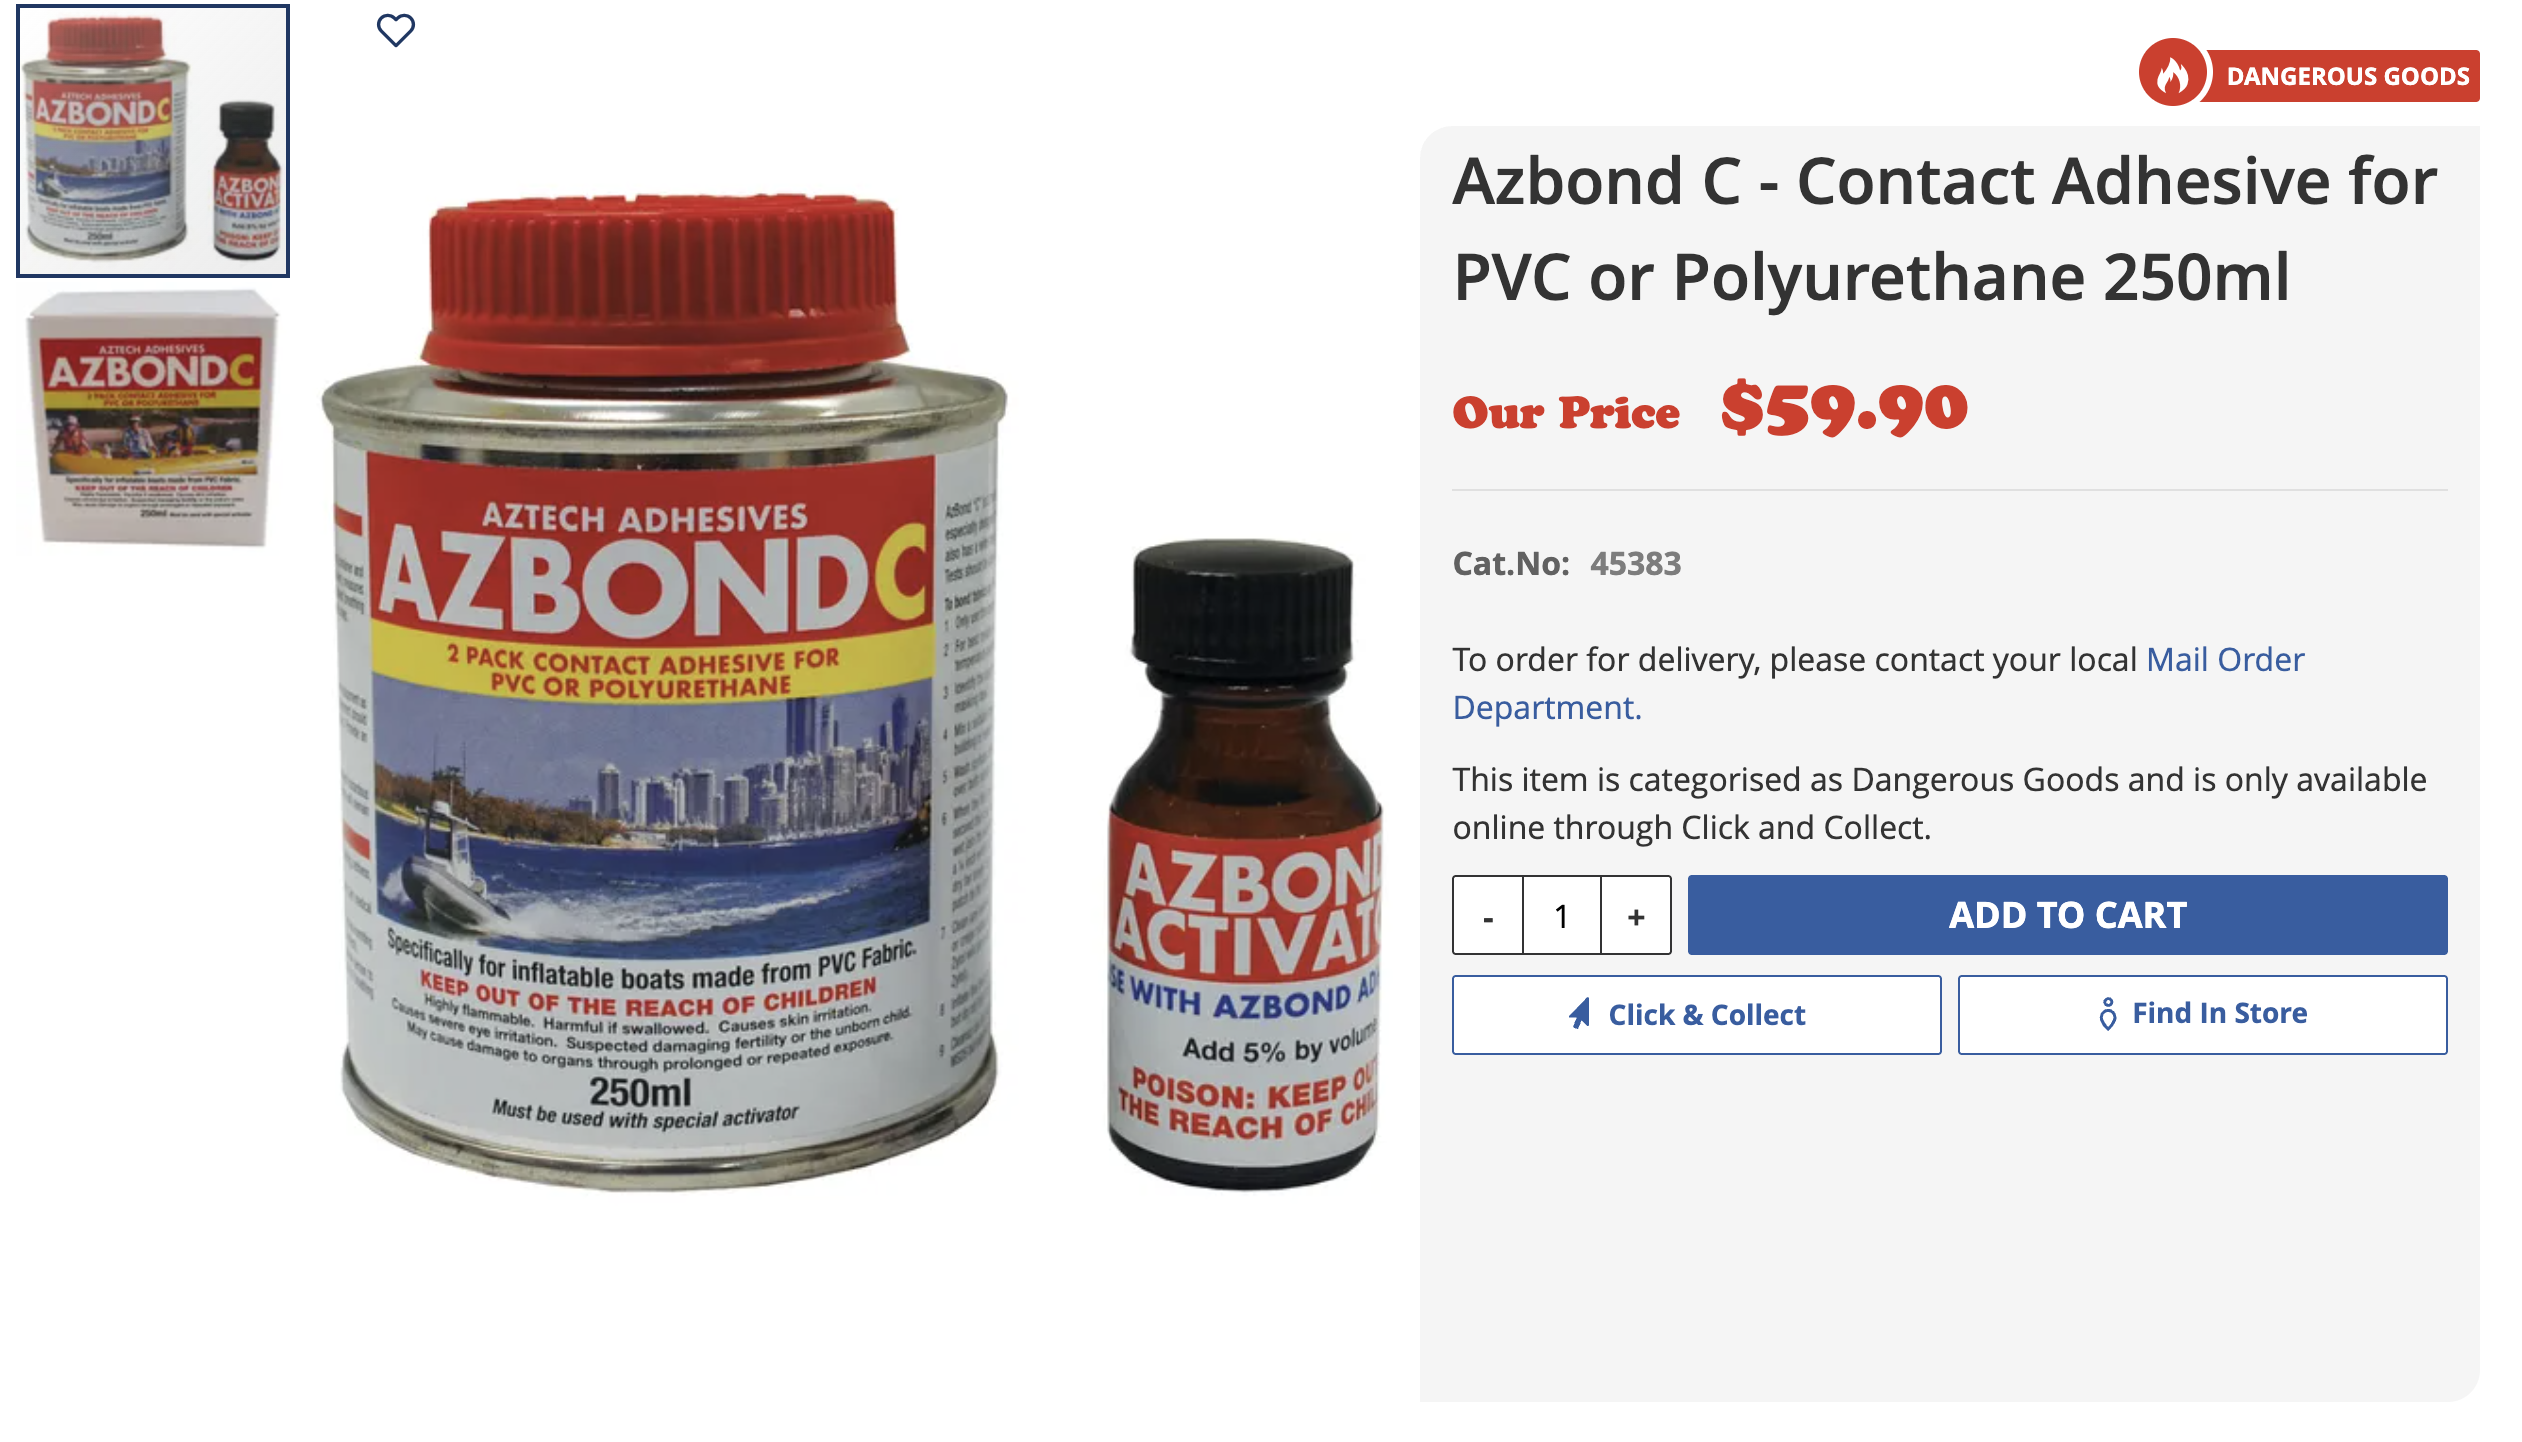
Instructions for Using 2-Part PVC Glue
What You’ll Need:
2-part PVC adhesive (base and hardener)
MEK (methyl ethyl ketone) or alcohol (for cleaning) MEK is plumbers primer available at most hardware stores.
Masking tape
Disposable mixing cup (e.g., paper cup)
Small paintbrush (bristles trimmed to ~15mm)
Heat gun or hot hair dryer
Blunt tool (e.g., spoon handle or plastic scraper)
Clean workspace
Step-by-Step Guide:
1. Clean the Surface
Use MEK or alcohol to thoroughly clean both surfaces to be bonded. This removes grease, oils, or manufacturing residue that could weaken the bond.
2. Mask the Area
Use masking tape to define the glue area. This ensures a neat bond line and prevents glue from spreading beyond the desired area.
3. Mix the Glue
Follow the manufacturer’s mixing instructions precisely. Combine the base adhesive and hardener in a disposable cup. Be aware of the pot life (working time)—usually a few hours.
Tip: Only mix as much glue as you’ll use within that time.
4. Prepare the Brush
Trim the bristles of a small paintbrush to about 15mm. This gives better control when applying glue to detailed areas.
5. Apply the Glue
Apply a thin, even coat of glue to both surfaces (e.g., the patch and the base). Wait until the glue becomes tacky—usually after 2 to 5 minutes.
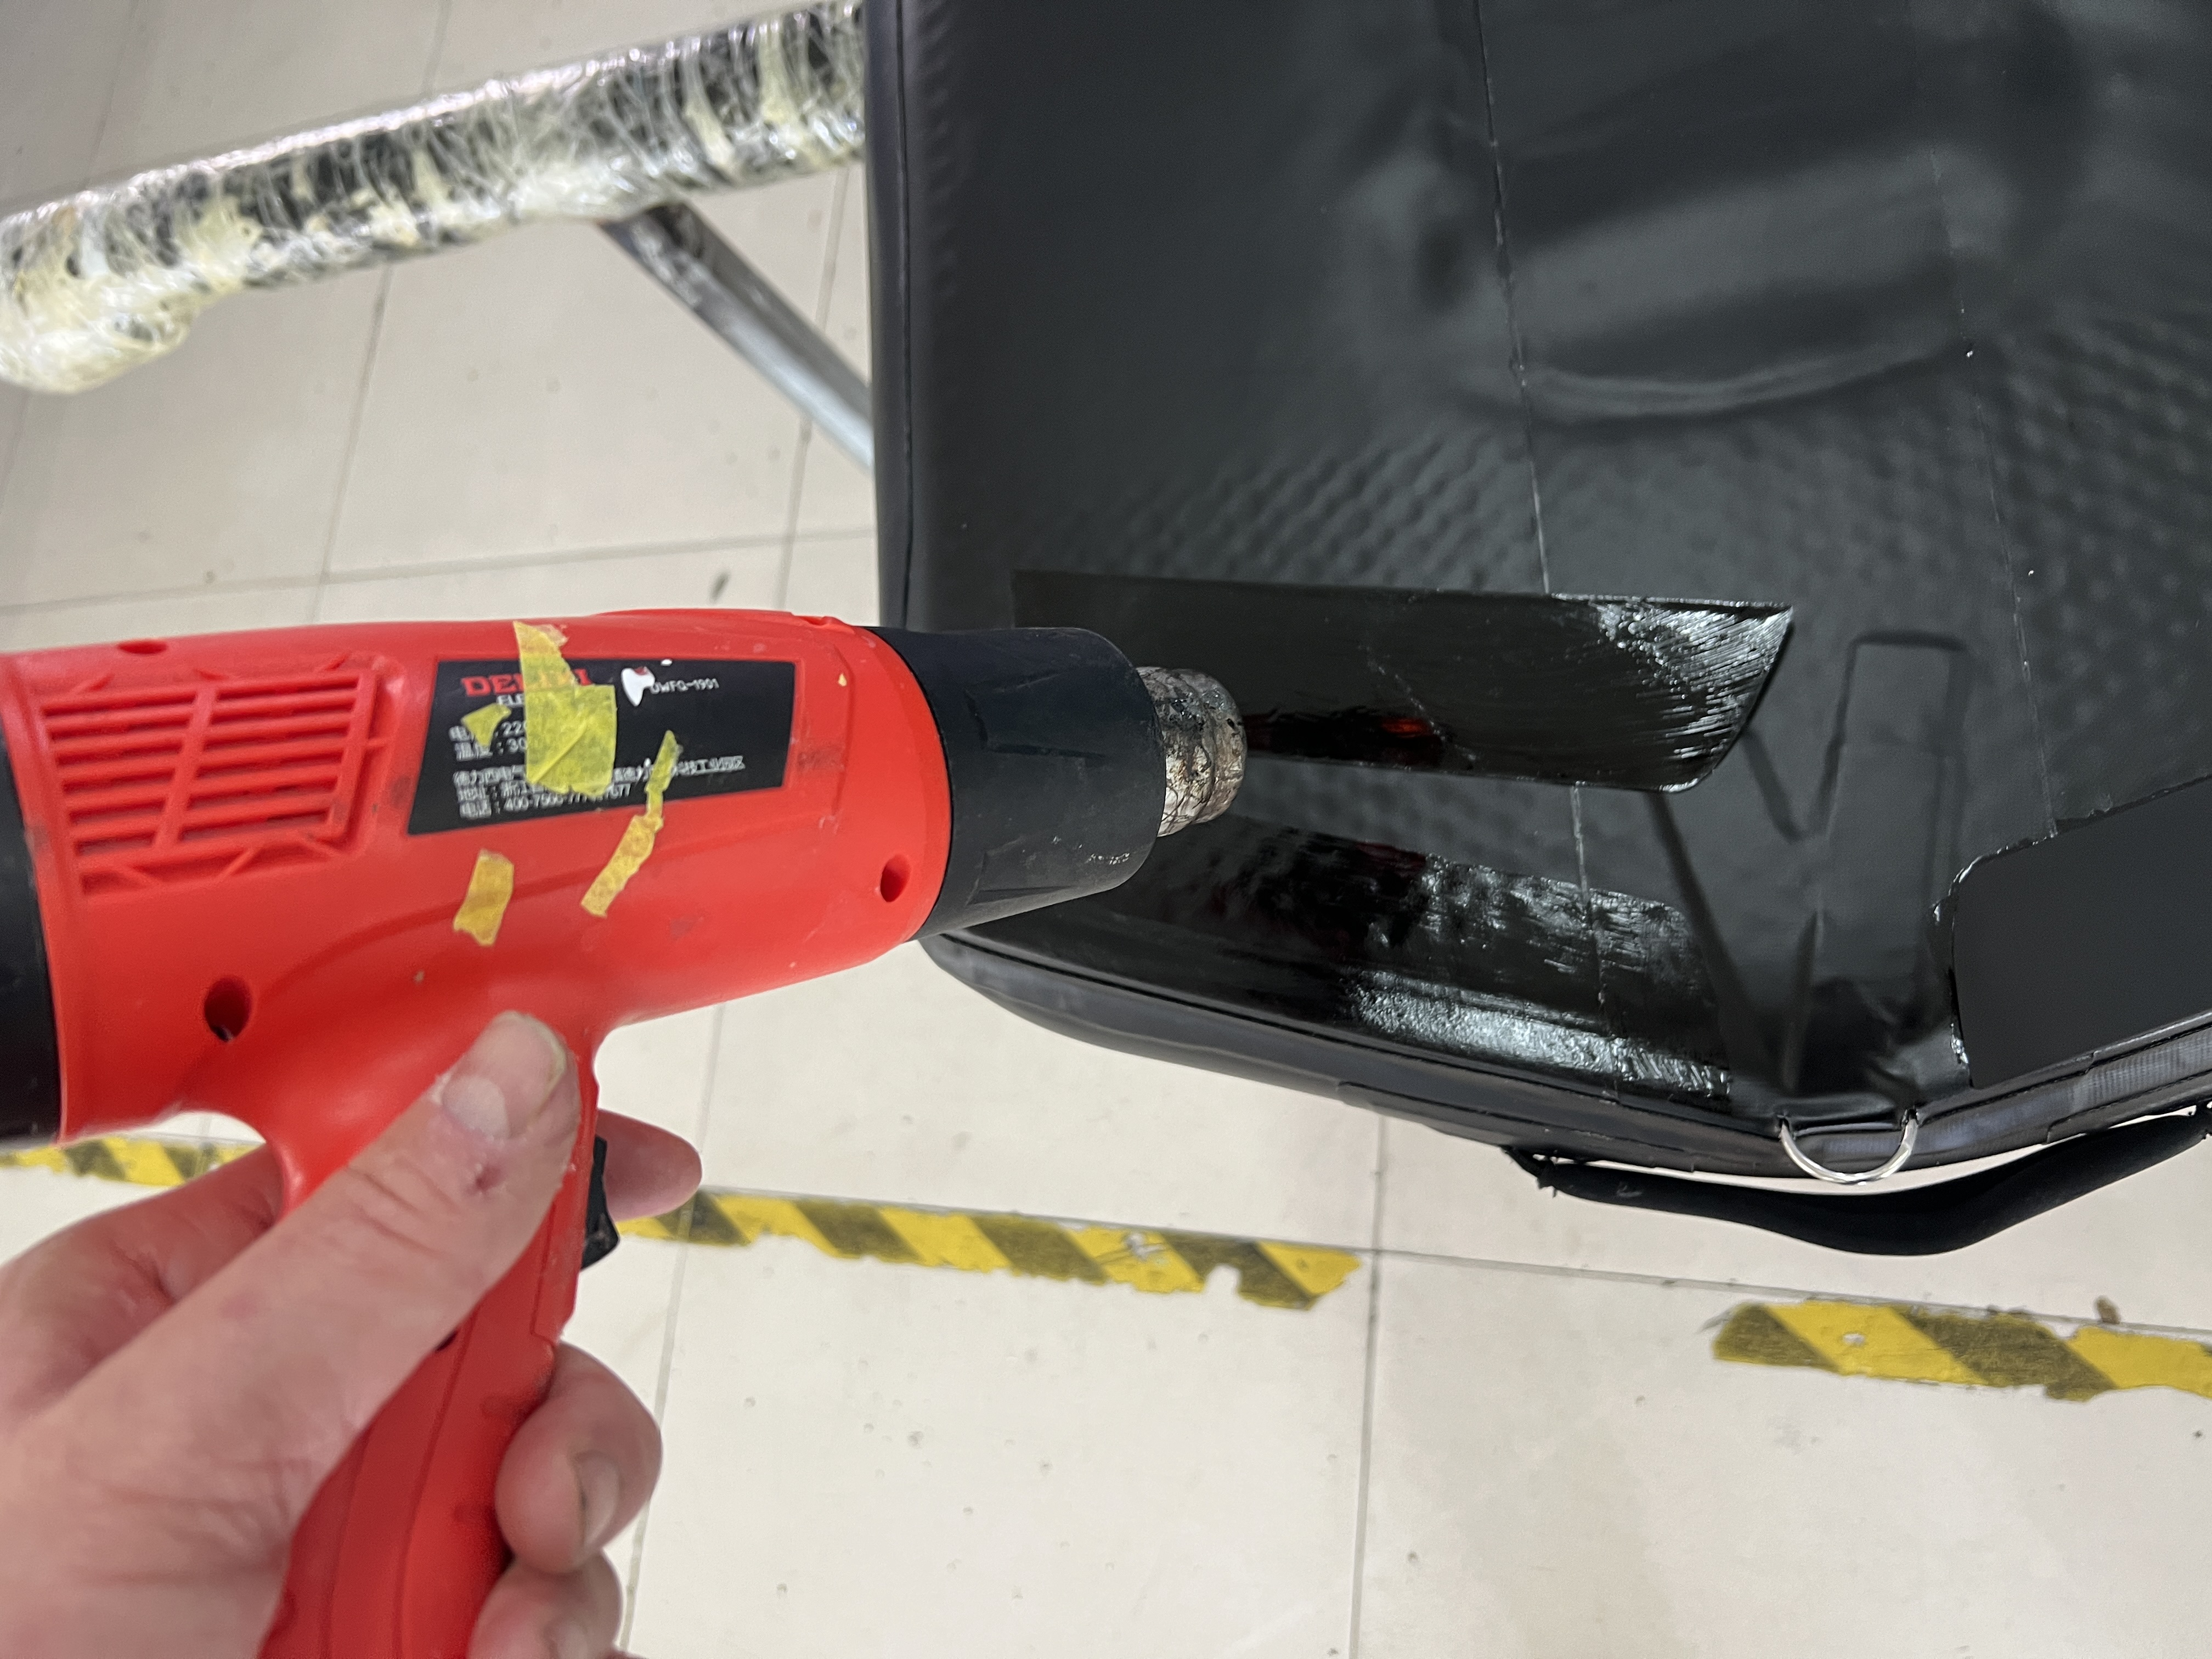
6. Activate the Glue
Use a heat gun or hot hair dryer to gently warm both glued surfaces. This reactivates the adhesive and improves bond strength.
7. Press and Bond
Align the surfaces carefully, then press them together firmly. Apply more heat as needed and use a blunt tool to press down and work the surfaces together, especially around the edges.
8. Allow to Cure
Once bonded, no clamping is required. Allow the glue to fully cure before inflating or applying pressure. Refer to the manufacturer’s guide for curing time—typically 6 to 24 hours.
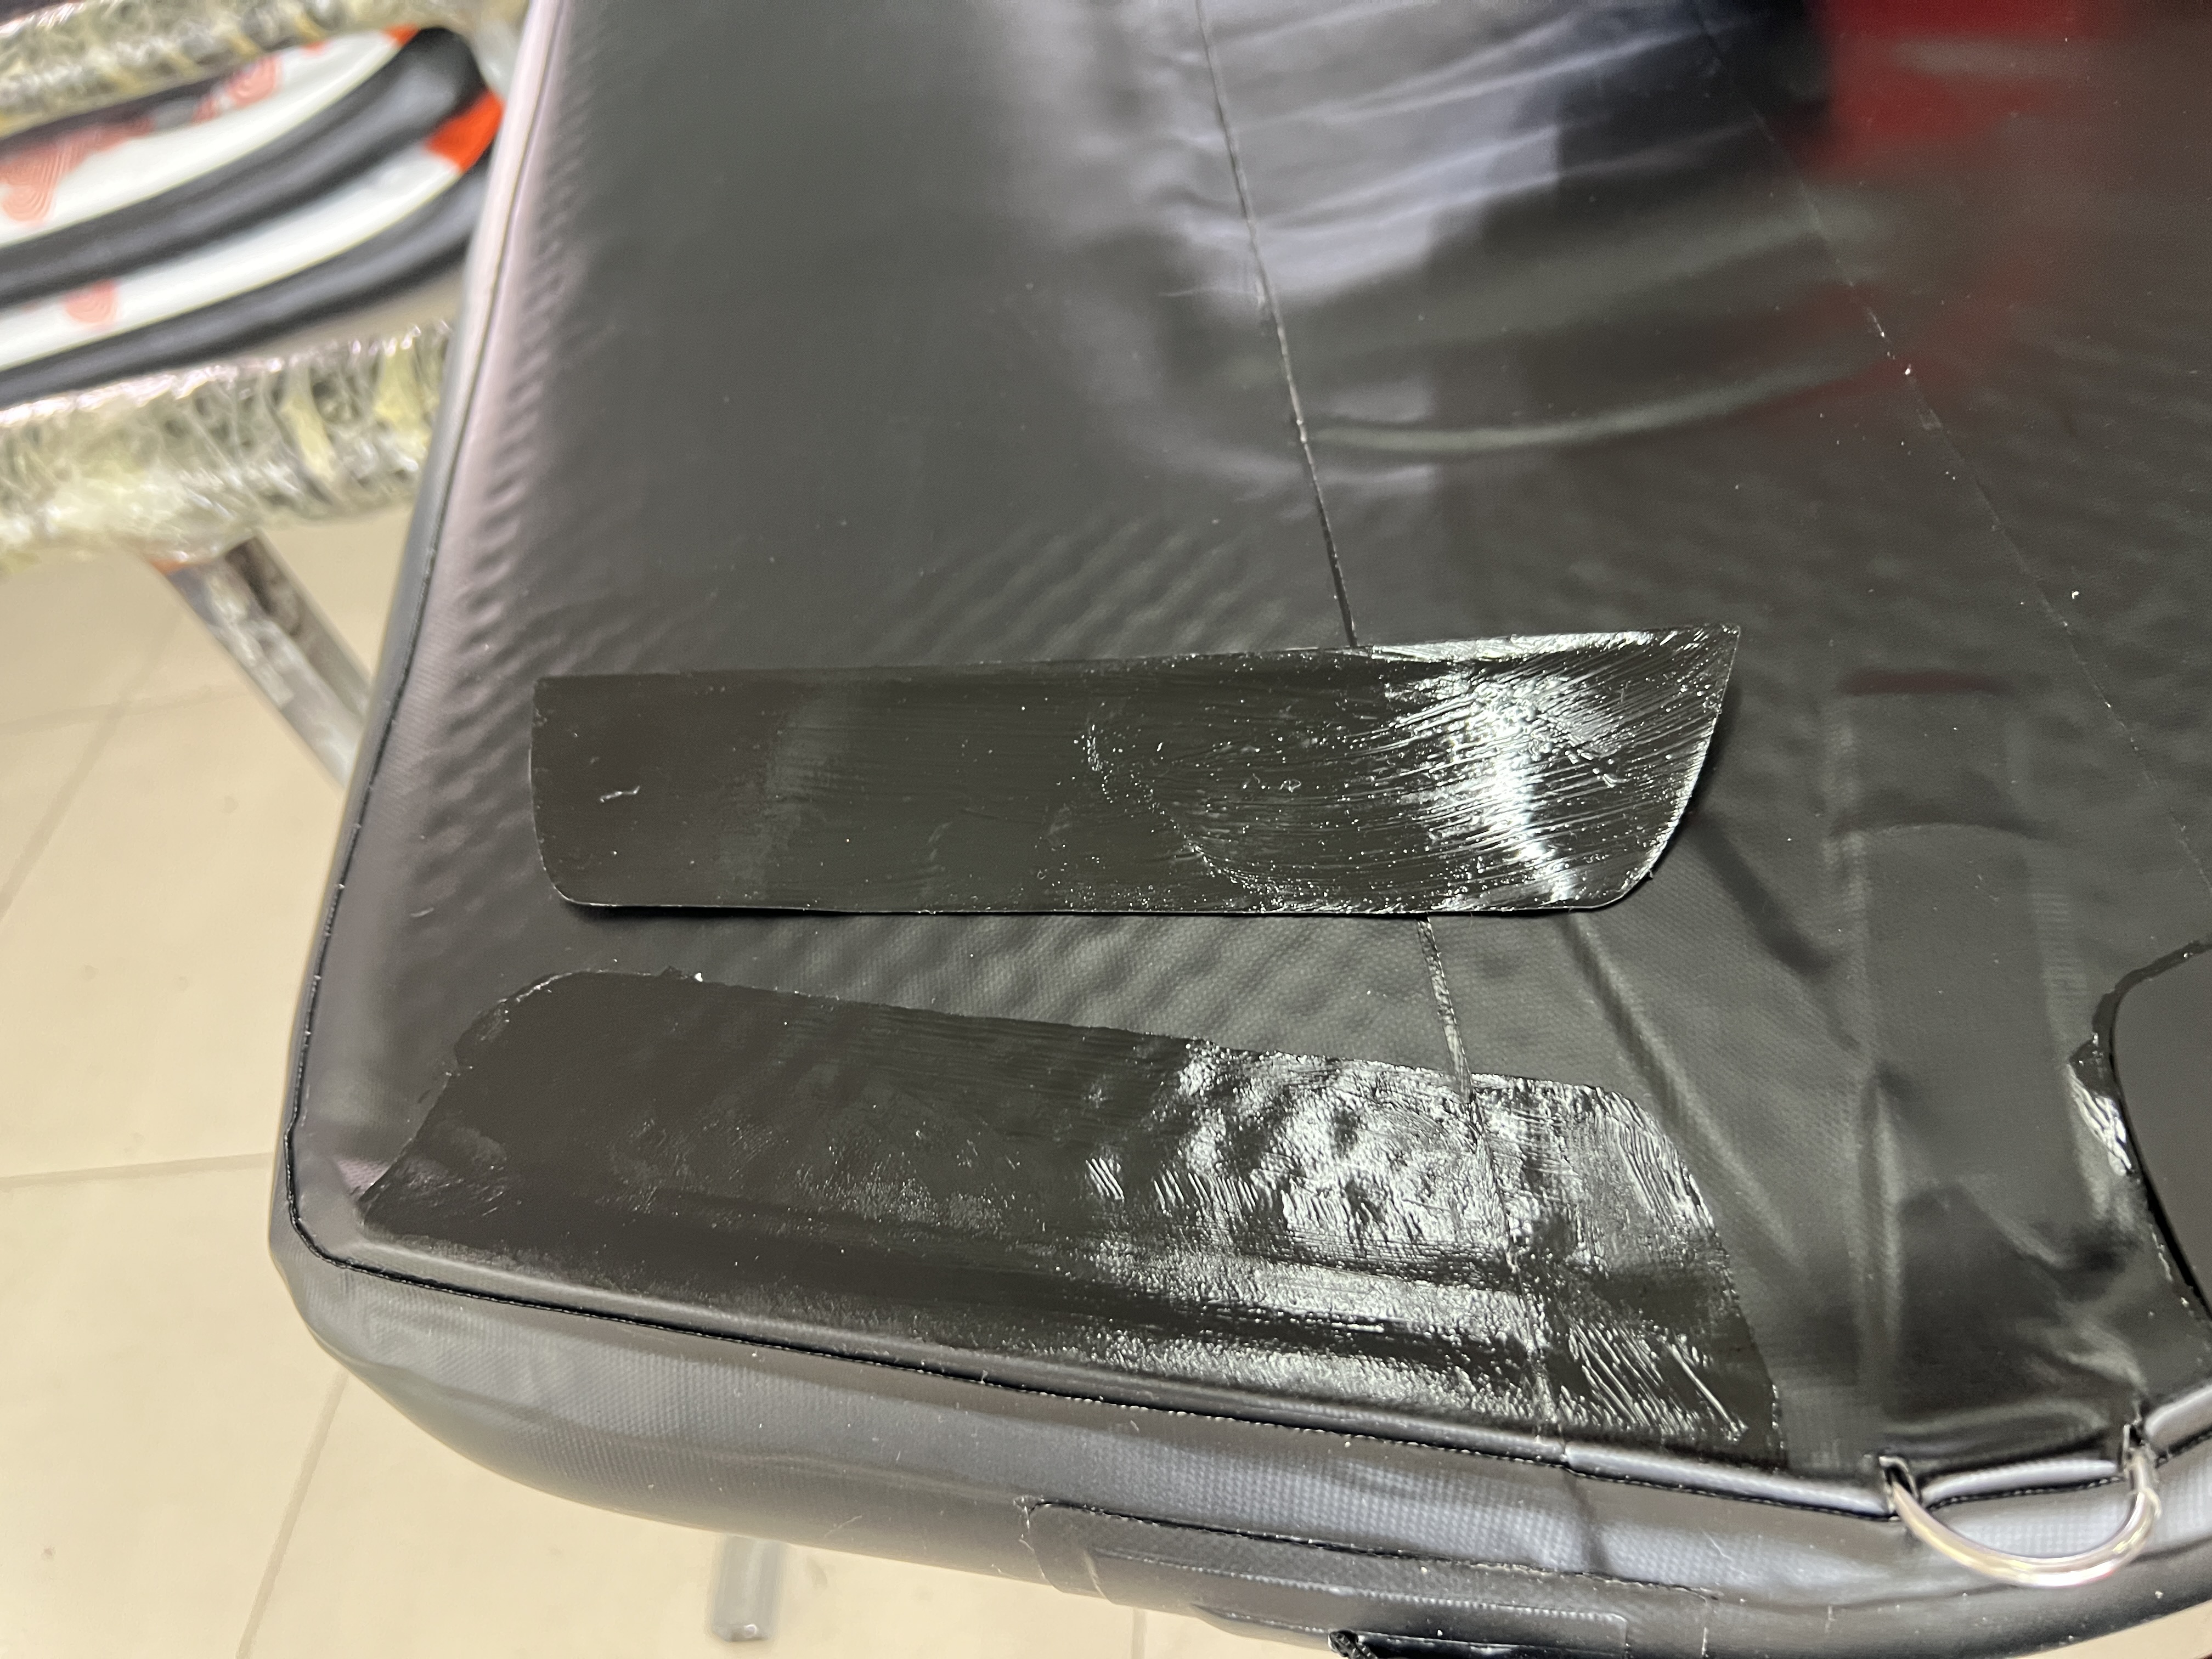
Attaching the Trim Tabs (Rear of the Boogie)
To install the trim tabs at the rear of the Boogie, follow these steps. Initially 3d printed trim tabs were sent out, but these have been changed to rubber. The rubber trim does not need the patch of PVC over top of them and can be glue directly to the back of the Boogie.
Glue the Trim Tabs
Apply glue to both the underside of the trim tabs and the matching area on the Boogie as per the steps above.Install with flat side down, moulded side up, in the locations shown in the photos below.
Mask the Patch Area
Once the trim tabs are in place, use masking tape to define the outer edge of the fabric patch that will cover them.Apply Glue to Patch and Tabs
Apply a coat of glue to:The top of the trim tabs
The masked edge around the trim
The rough side of the fabric patch
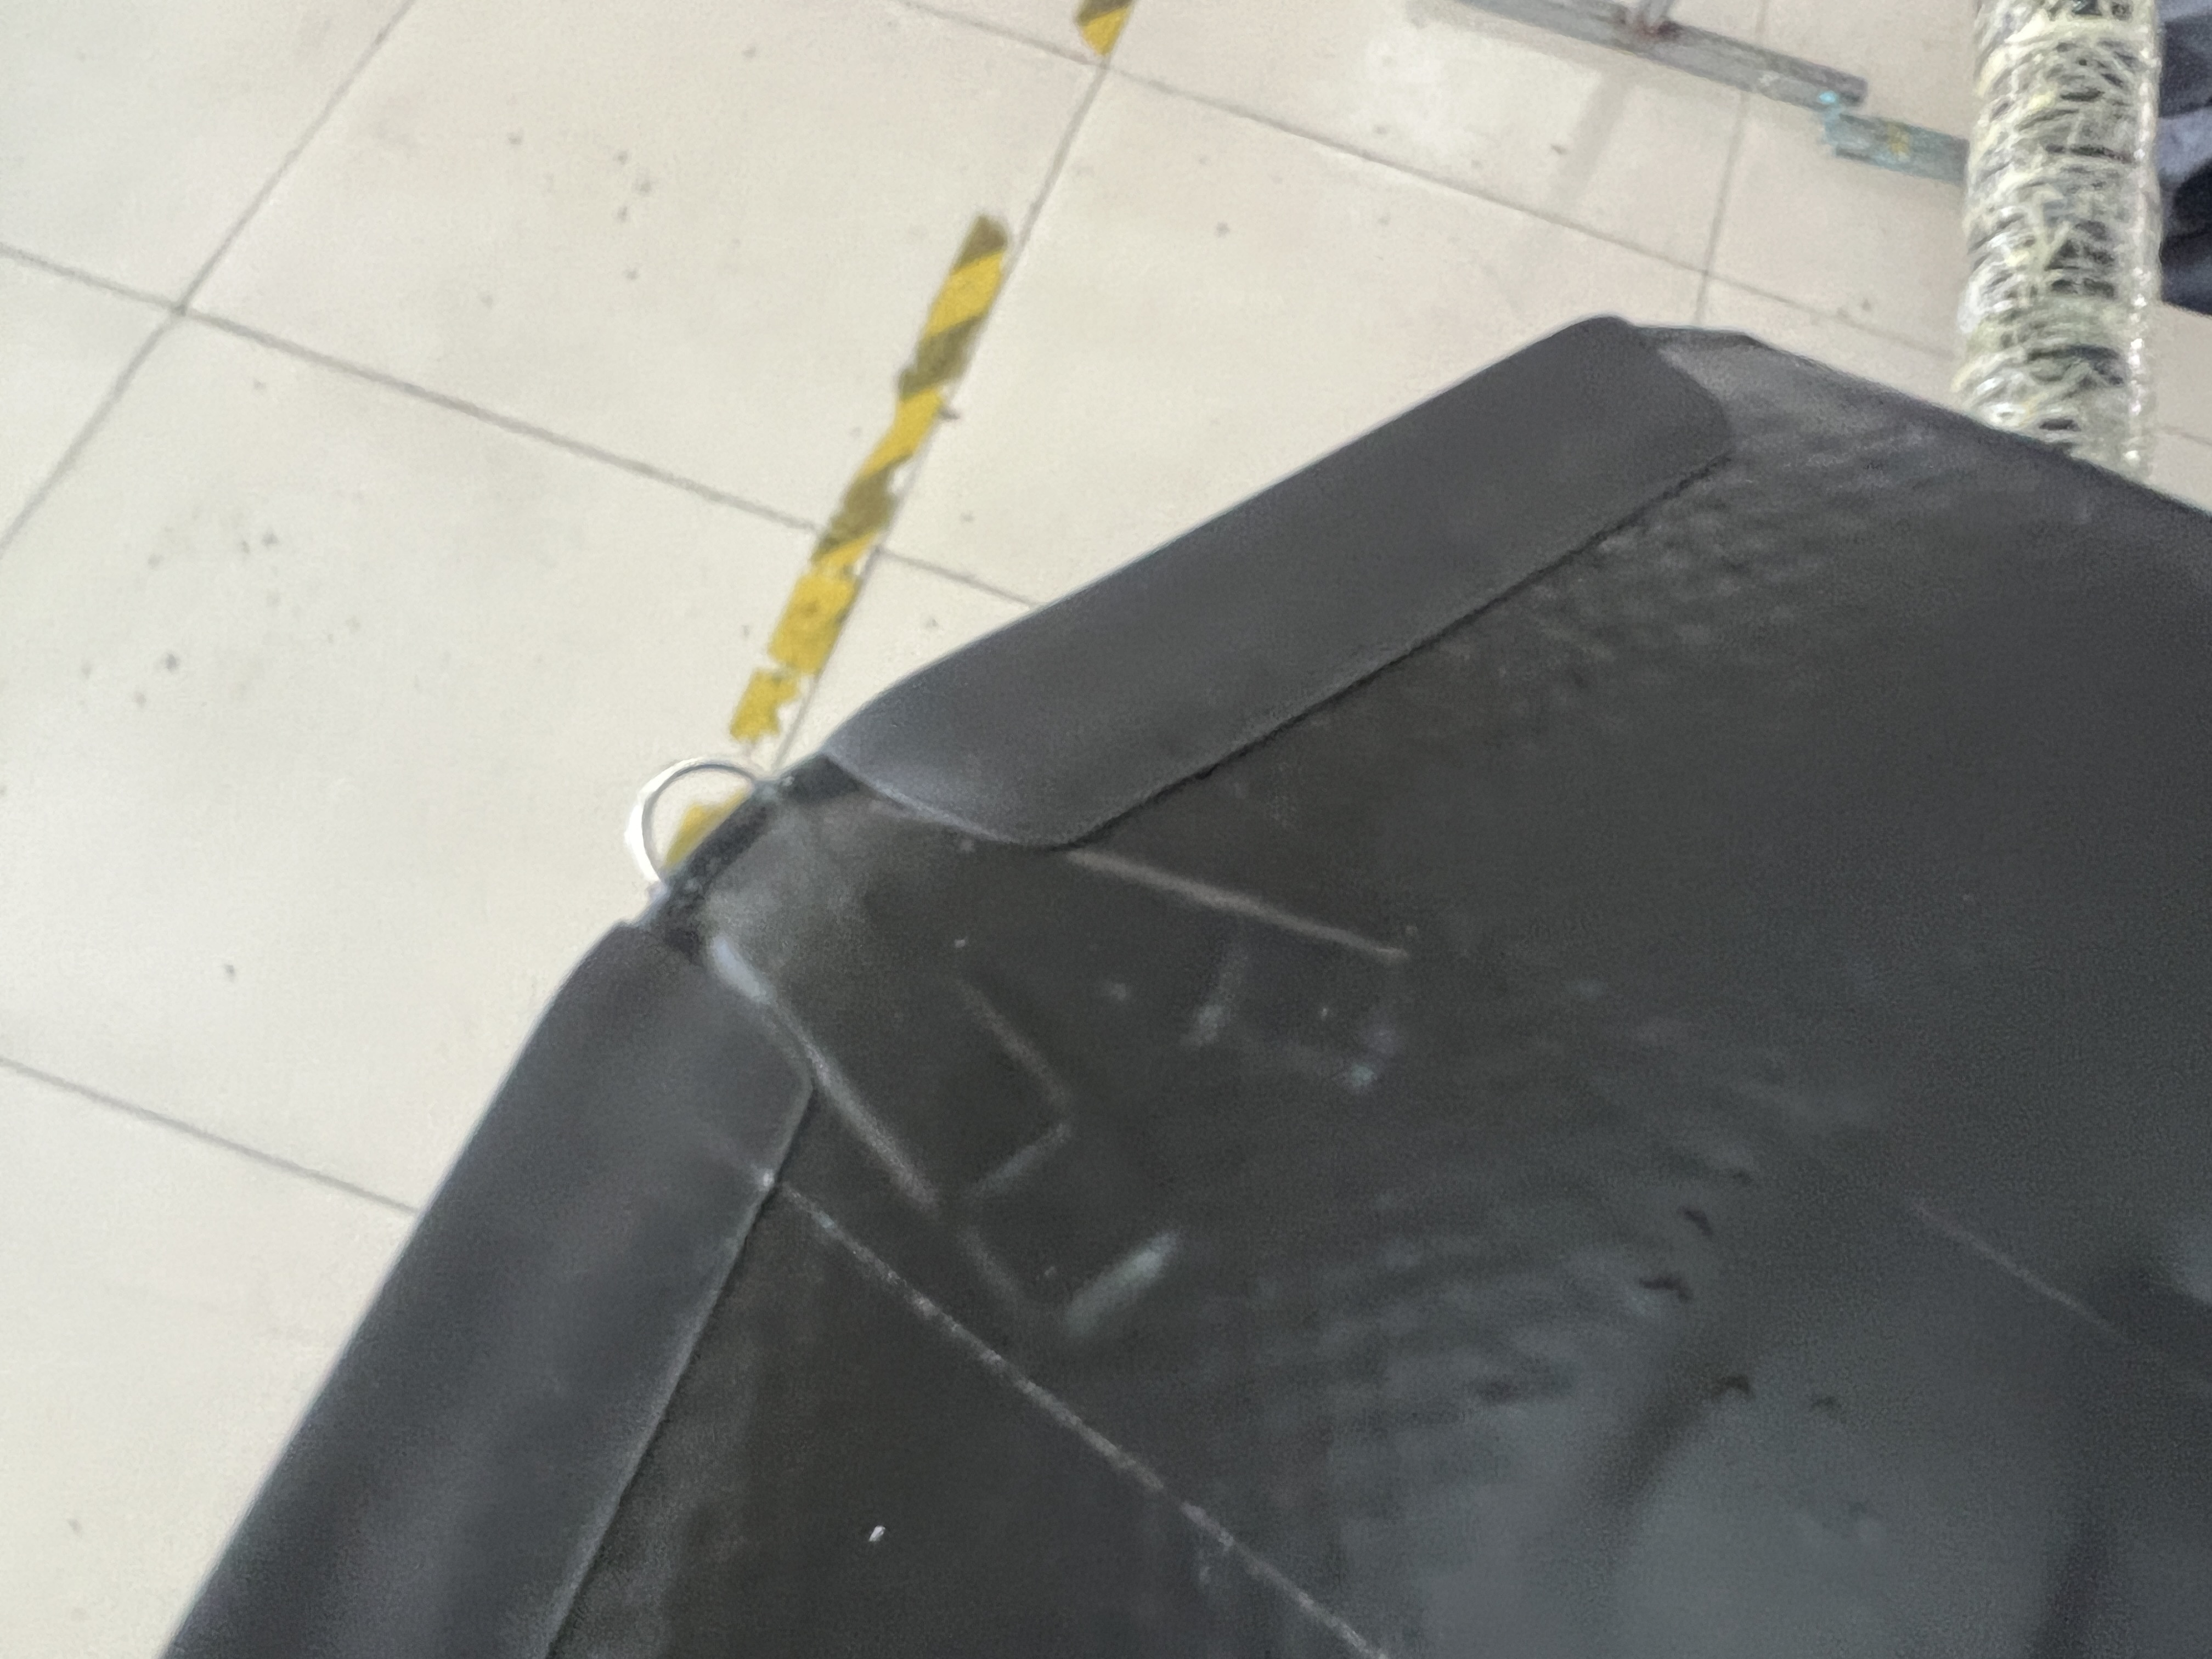
Heat and Apply the Patch
Let the glue go tacky, then use a heat gun to warm all glued surfaces. Start placing the patch from the front edge, and carefully stretch it over the trim tabs.Secure the Bond
Continue heating and use a blunt tool to firmly press the patch into place, making sure it molds tightly around the trim tabs.