Throttle Repair Instructions – Remote ControlUpdated 2 months ago
We’ve identified that in rare cases, the throttle on some remotes can be temperamental due to a fatigued solder joint. The quickest fix is to re-solder the throttle sensor connections, which can be done at a mobile phone repair shop or by someone that is capable doing this types of repairs.
Step 1: Open the remote following this Guide
Step 2: Remove Existing Glue if Present
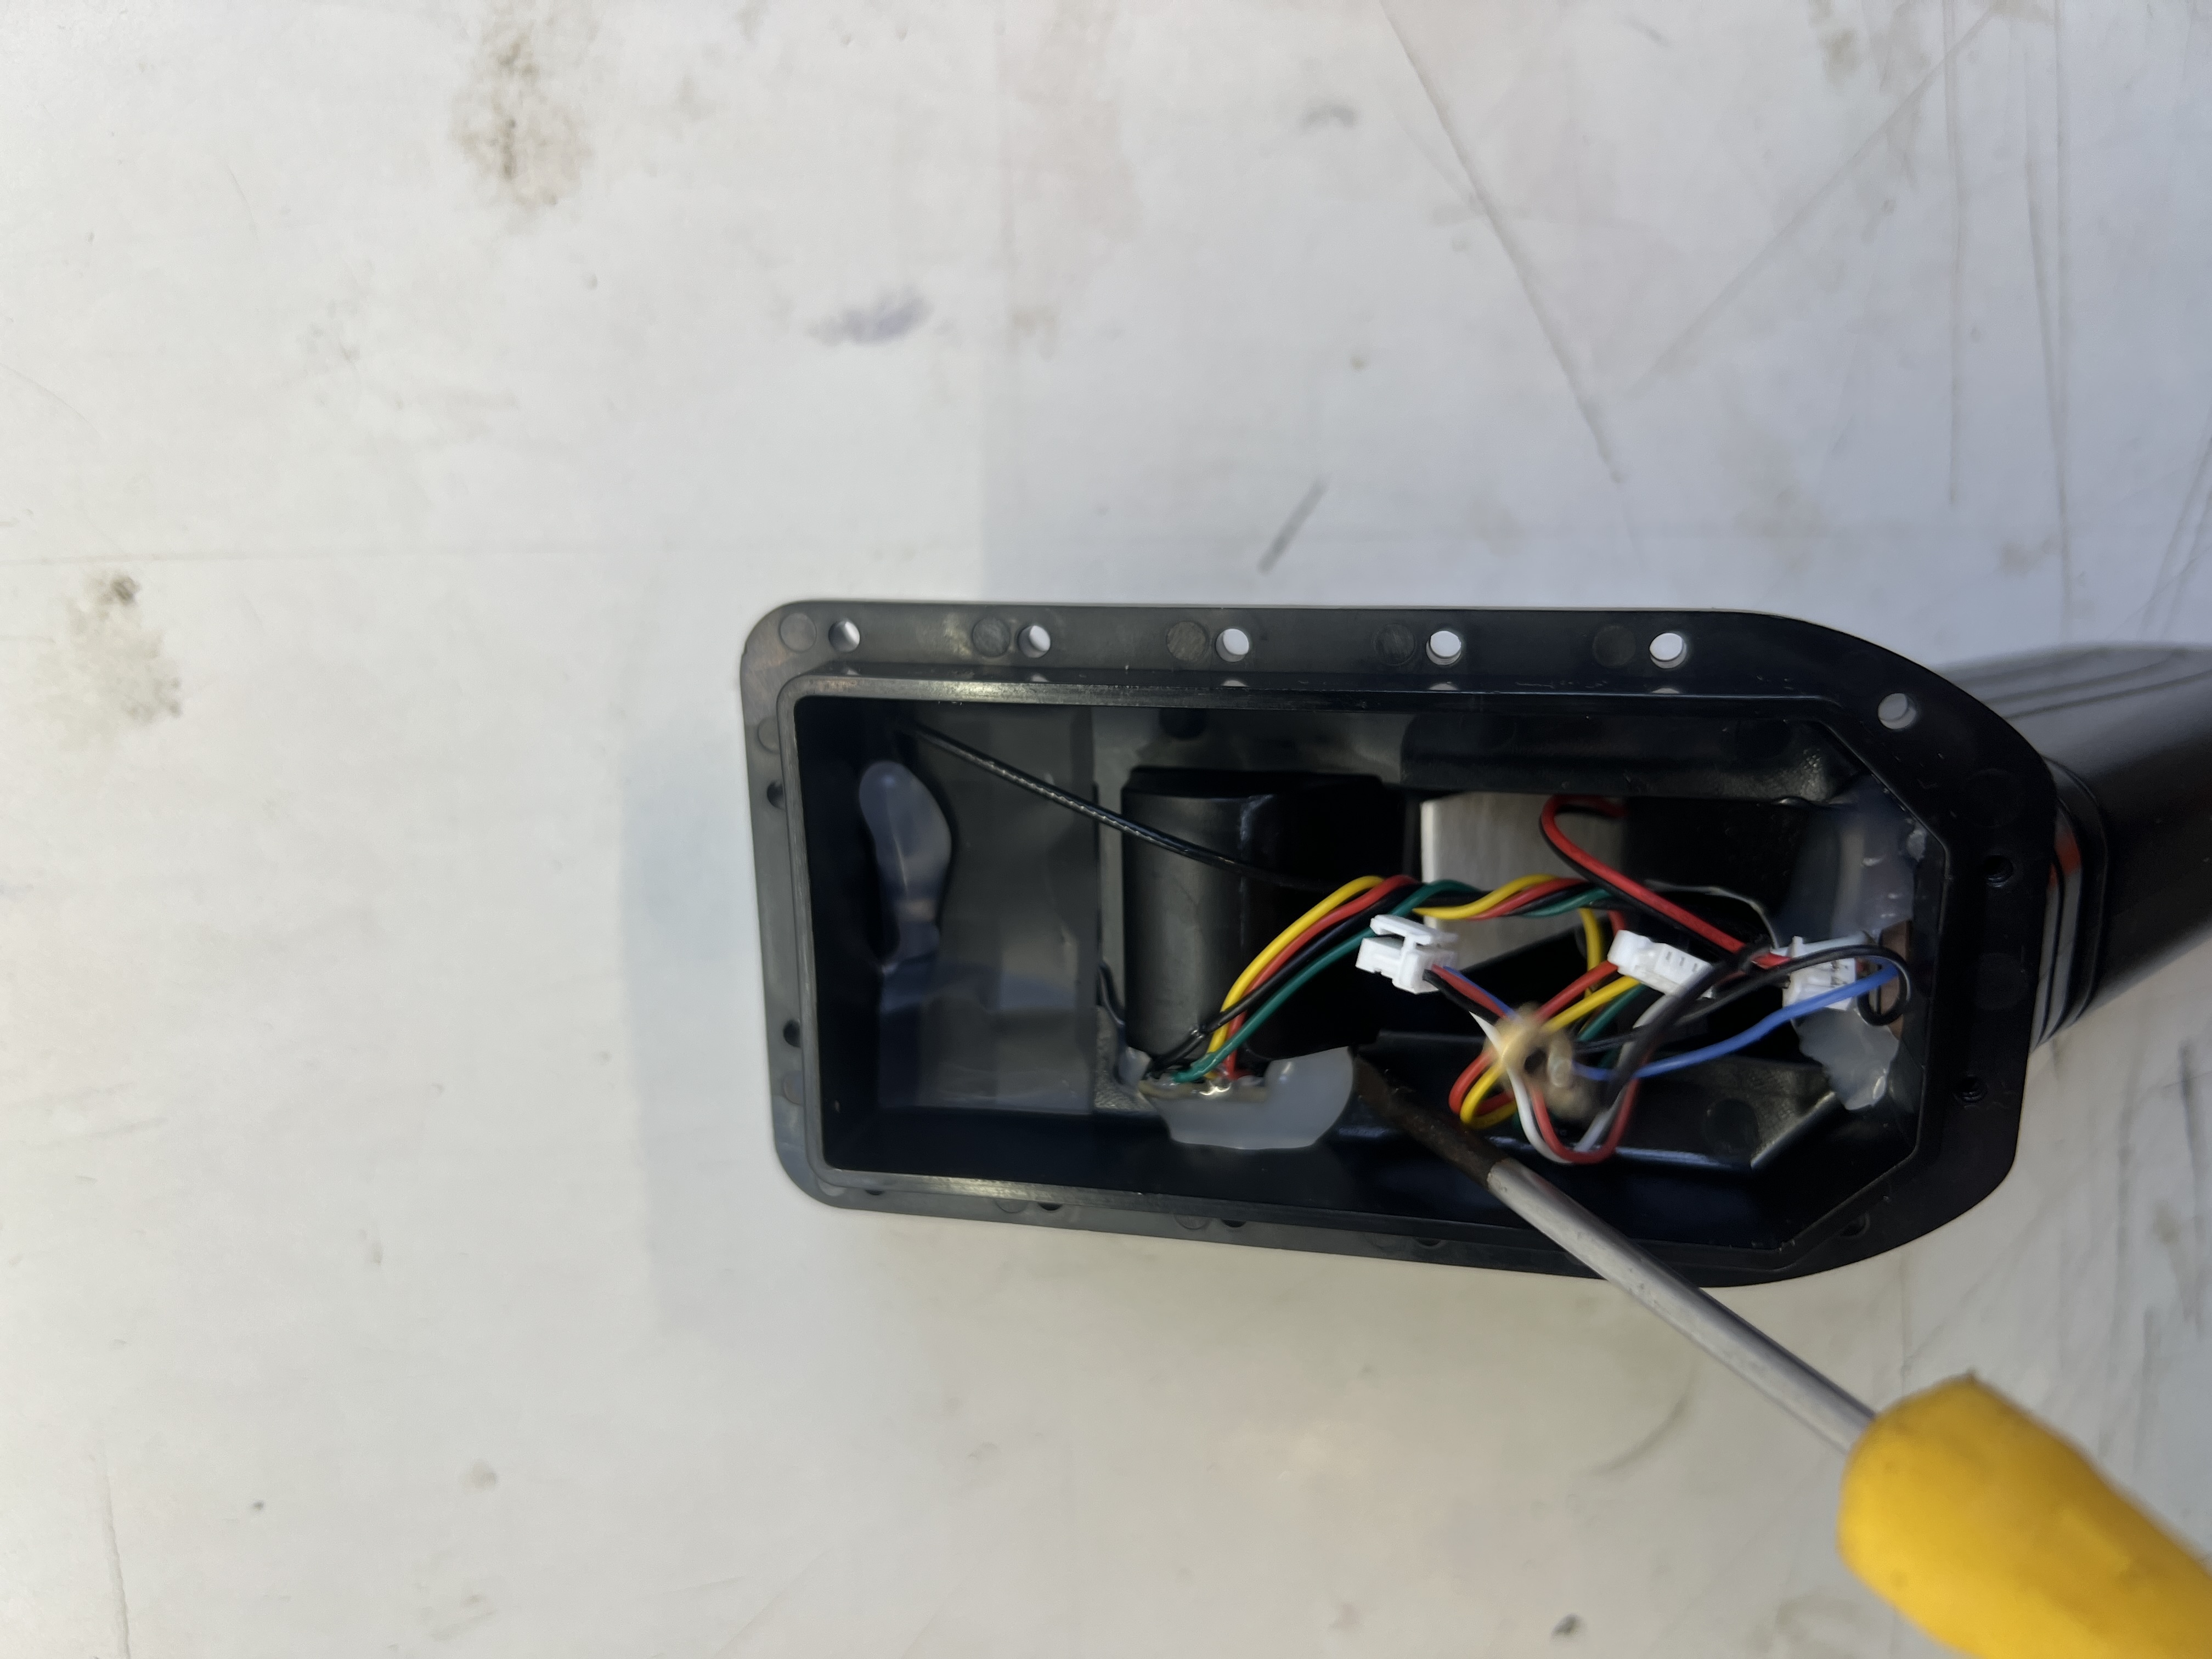
Remove hot glue from above the throttle sensor using a flathead screwdriver.
A little heat from a hair dryer can help soften the glue.
Step 3: Protect Sealing Surface
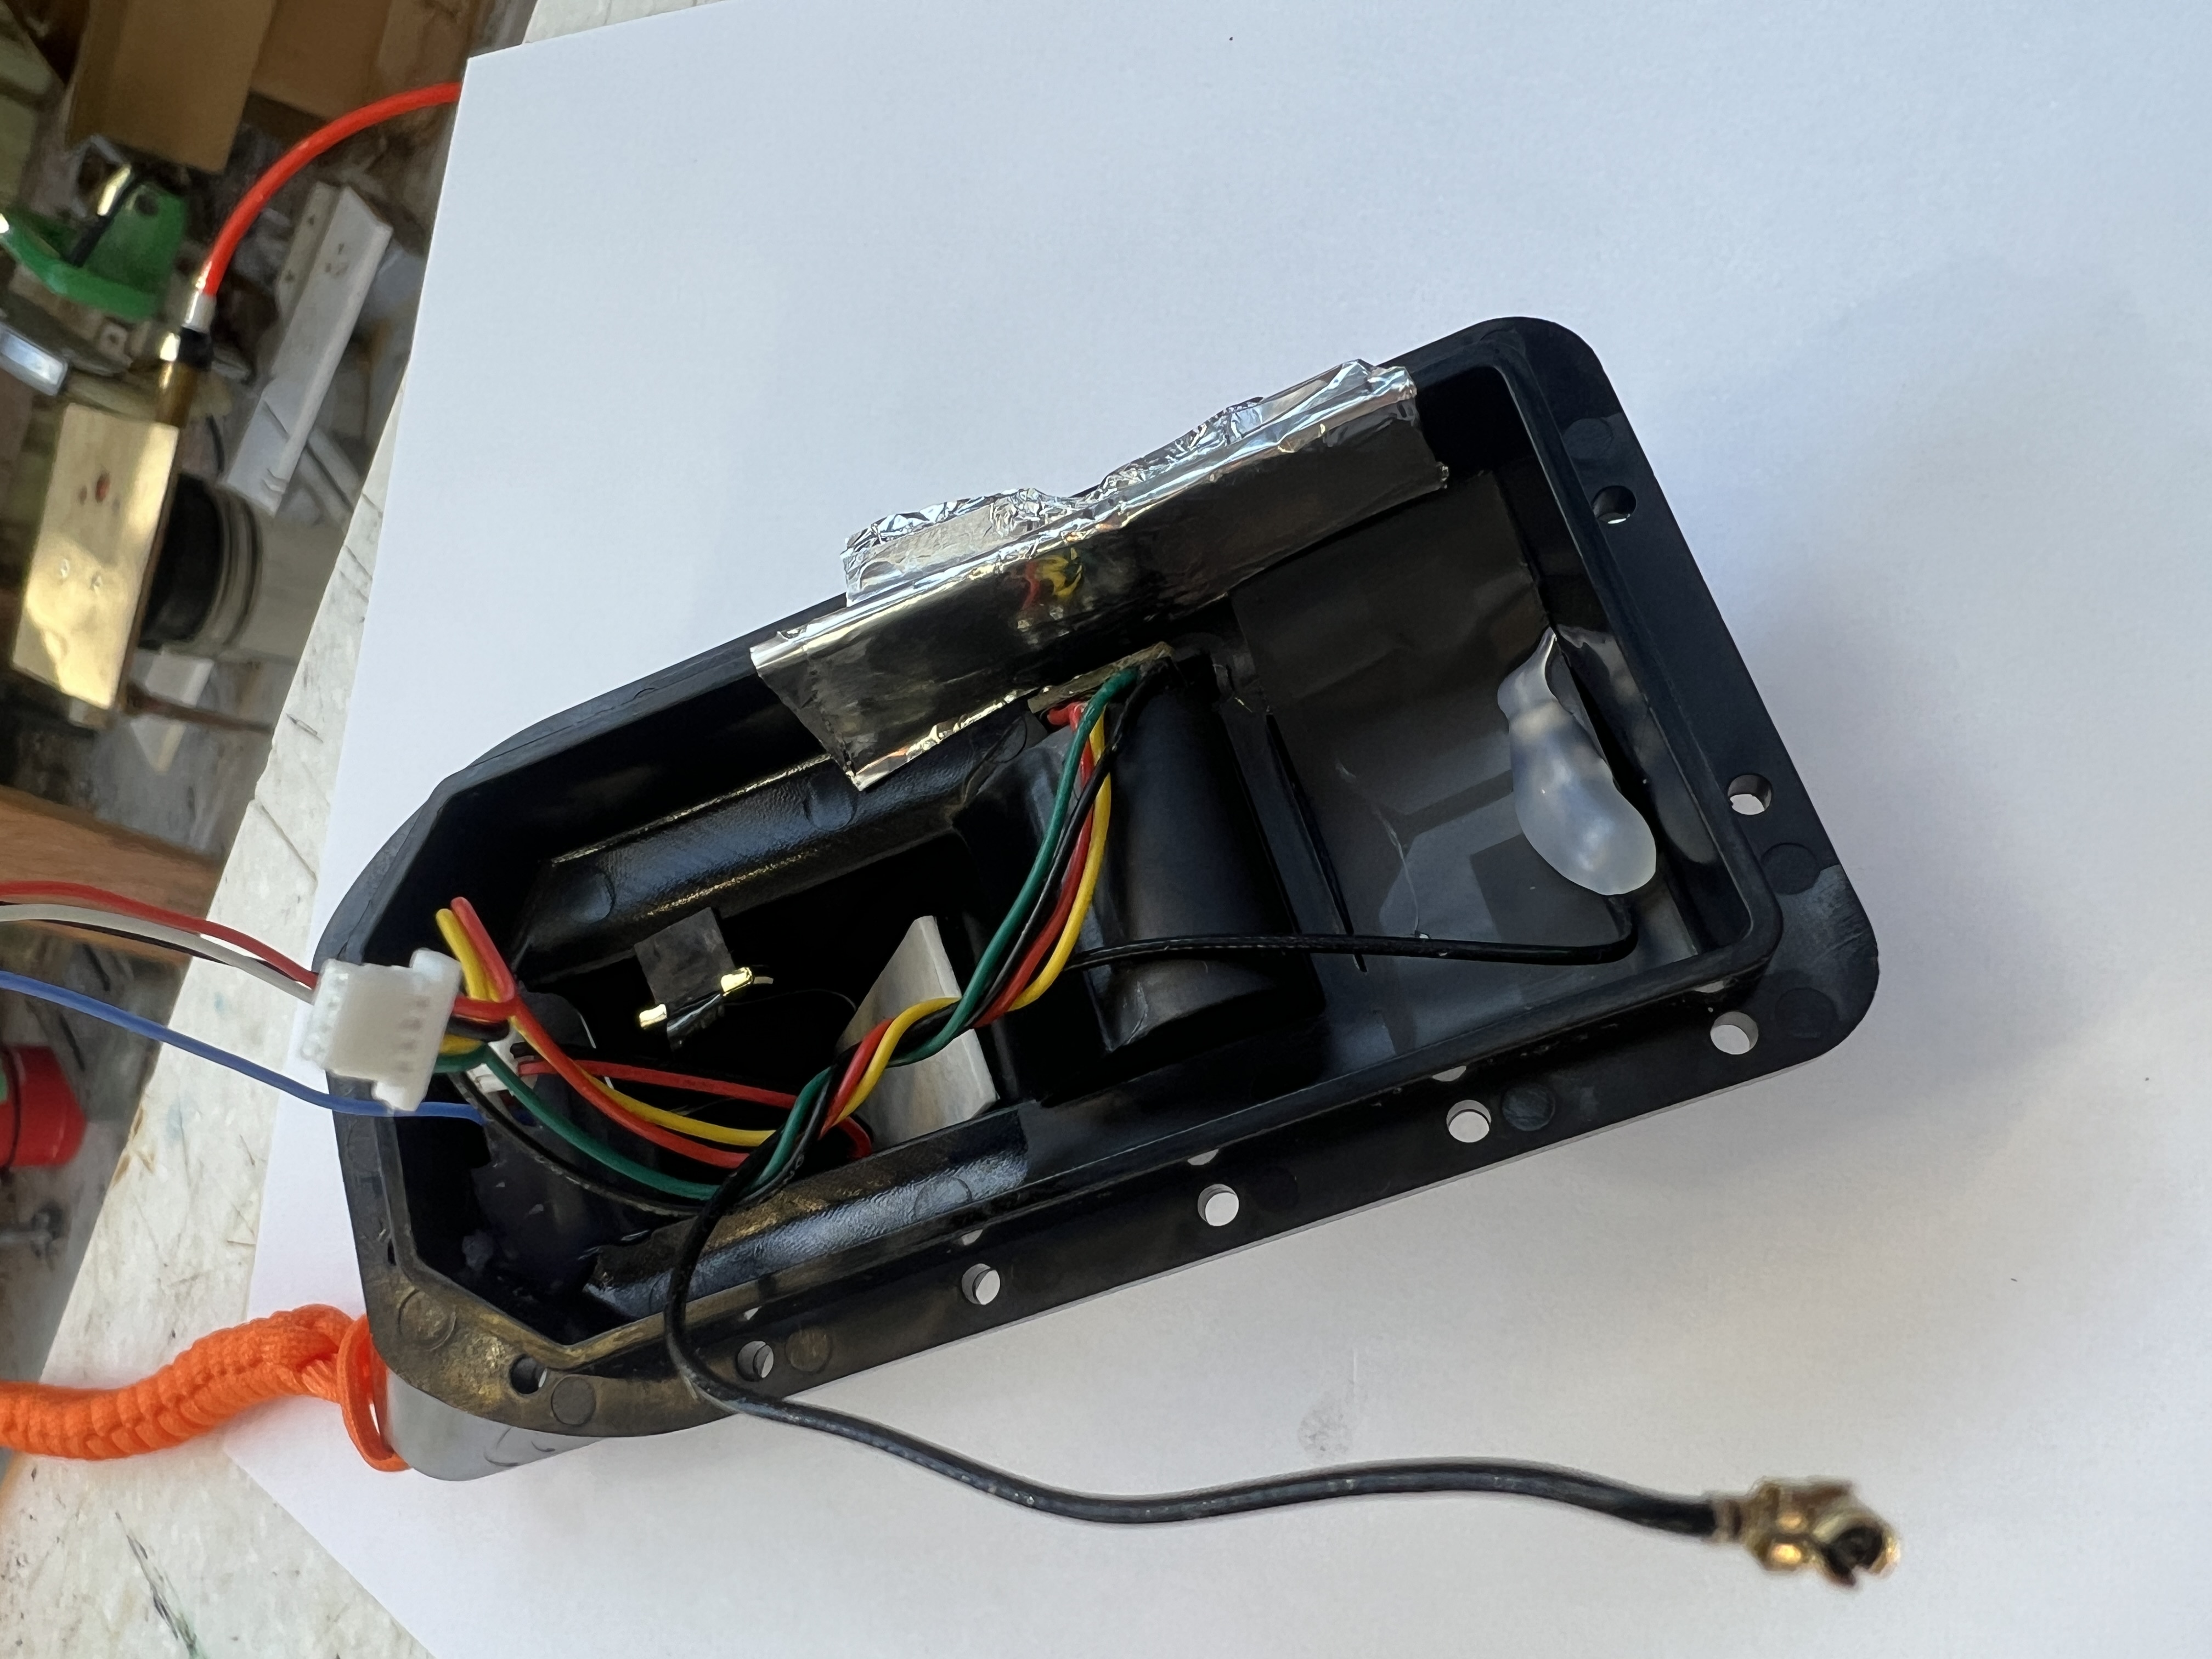
Place a small piece of aluminum foil between the soldering area and the plastic near the O-ring to prevent heat damage.
Soldering
Step 4: Re-Solder Throttle Connections
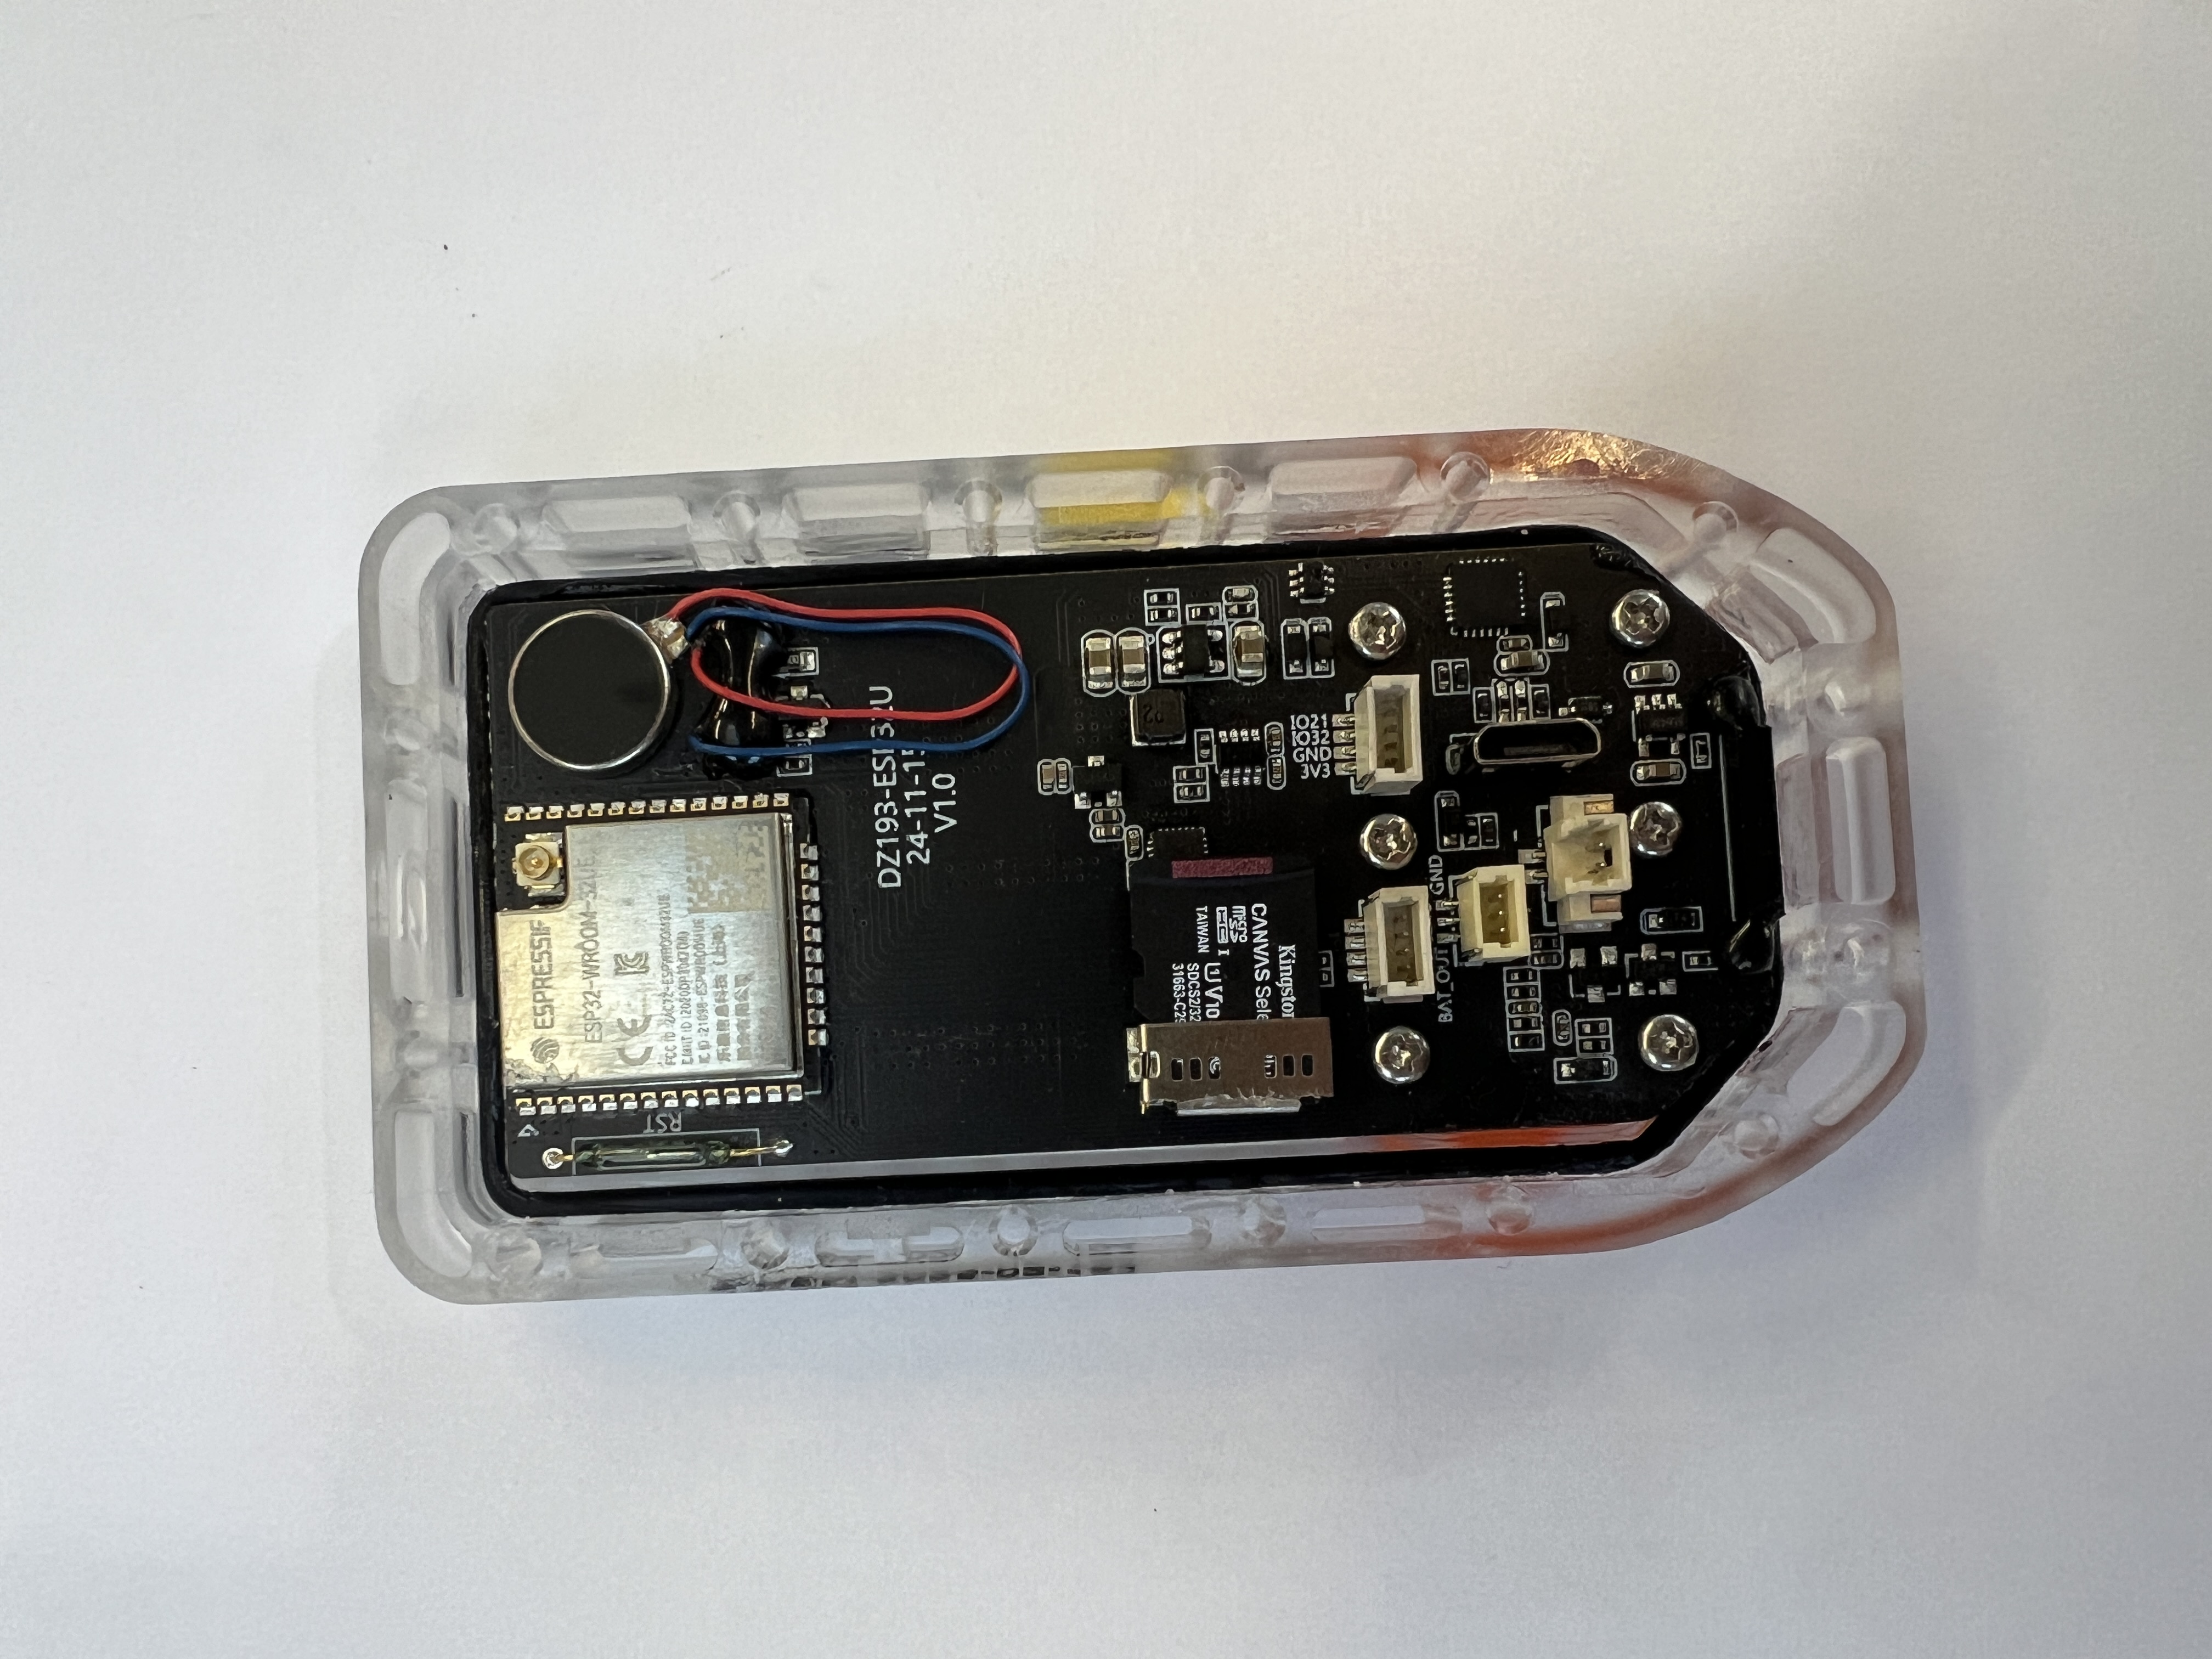
Re-solder the four throttle sensor connections on the back of the PCB.
✅ A proper reflow should cause the wire to slightly move as the solder melts.
Step 5: Seal
Apply hot glue or silicone sealant above the throttle sensor to secure the wires
Reassembly
Before Closing:
Check for any damage to the sealing surface near the O-ring caused by the soldering iron.
If needed, clean gently with fine sandpaper.
Apply silicone zipper grease to the O-ring groove on the handle.
Ensure the O-ring is fully seated.
Reconnect Plugs in This Order:
Antenna
GPS
Throttle
Battery Plug (use tweezers)
Micro USB (use tweezers)
⚠️ When mating the screen to the handle, ensure no wires are caught or pinched.
Function Check (Before Screwing Back Together)
GPS: Turn on the remote outside and confirm GPS lock.
Throttle: Perform a throttle calibration.
Charging: Look for the blue light to confirm wireless charging.
Range: Power on the Boogie and walk at least 25 meters to confirm wireless signal.
Final Assembly
Lube each screw with silicone grease.
Loosely install all screws first.
Once all are in place, go back around and fully tighten.
⚠️ Do not overtighten.
Waterproof Test
Submerge the remote in fresh water for 20 minutes to confirm there are no leaks.